
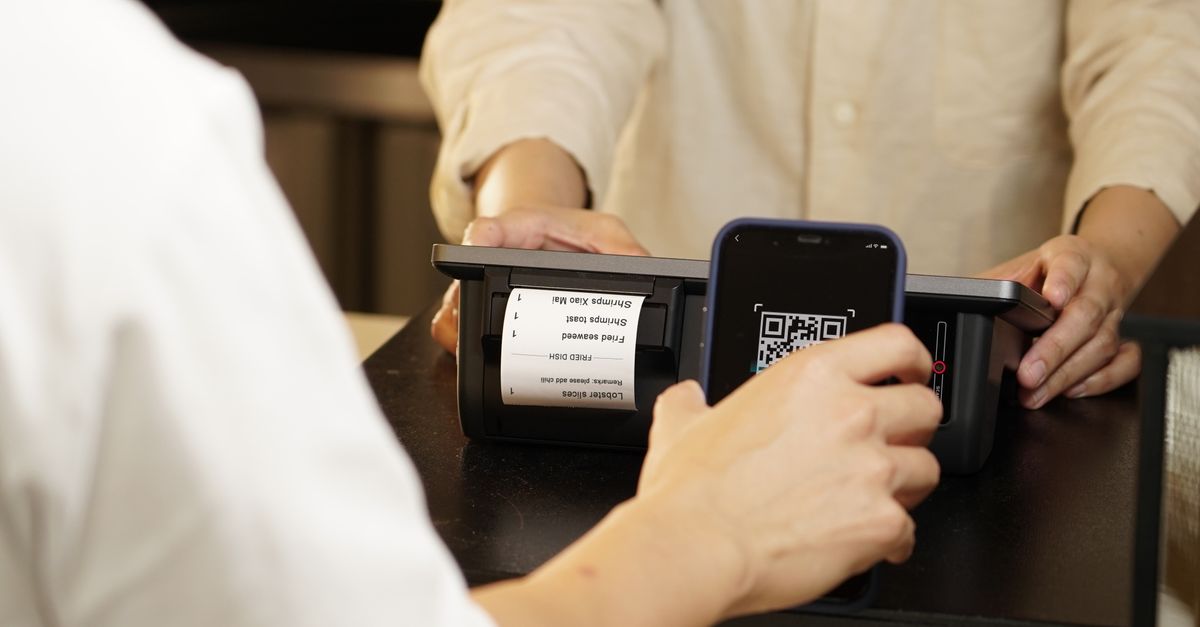
When you choose "Pay with crypto" at HelloSIM checkout, the payment page shows three things for the coin and network you picked: a payment address, a QR code and the exact amount to send. The QR code is the quickest way to move those details into a wallet without typing. But it is only a picture of some text, and your wallet decides what to do with that text. Knowing what is inside the code, and what is not, is what stops a quick scan from turning into an expensive mistake.
This guide explains what a payment QR code contains, when to scan or copy, and what to check after every scan.
What a payment QR code actually is
A QR code is a square pattern that stores a short piece of text. It does not move money, connect to anything or hold coins. When your wallet's scanner reads it, the wallet receives that text and uses it to fill in the send screen. Everything after that point, from the network to the amount to the final confirmation, still depends on you and your wallet.
That makes a QR code a convenience, not a guarantee. It removes typing errors, which matter a great deal with addresses that are long strings of letters and numbers. It does not check that you picked the right network or that the amount matches the payment page.
Get your Japan eSIM in 30 seconds
Instant delivery, 4G/5G speeds, no roaming bills.
Bare address or payment link: two kinds of code
Payment QR codes come in two broad kinds:
- A bare address. The code holds only the receiving address. Your wallet fills in the recipient and leaves the rest to you: you choose the coin and network and type the amount.
- A payment link. The code holds a short link in a format wallets recognise, usually the coin's name followed by the address and sometimes the amount. For tokens such as USDT or USDC, a link may also try to describe which token is meant.
Which kind you get depends on the coin, the network and how the payment page builds the code, and wallets differ in how much of a payment link they understand. One wallet fills in the address and the amount; another takes only the address; an exchange app's withdrawal screen may accept a bare address only, or reject a link altogether. If a scan is refused, copy the address from the payment page instead. That is normal and not a sign that anything is wrong.
What the code may not tell your wallet
The detail most often missing after a scan is the network. An address on Ethereum, Arbitrum, BNB Smart Chain, Polygon or Avalanche looks the same: it starts with 0x and has the same length on all of them. A code that carries only such an address cannot tell your wallet which of these networks you chose on the payment page, so the wallet uses whichever network is currently selected. That may be the one you used last month, not the one the page shows today.
The same goes for the asset. A wallet can open the send screen for ETH when the payment page asked for USDT on the same network, and the scan will still look successful.
So whatever the code contains, set the coin and the network yourself and compare them with the payment page before you confirm.
Scanning or copying: which to use
Both methods carry the same information. Pick the one that suits your devices:
- Payment page on a computer, wallet on a phone: scanning is the natural choice. Use the scanner inside the wallet app rather than the phone's general camera, so the details land directly in the send screen.
- Payment page and wallet on the same phone: you cannot scan your own screen. Use the copy option next to the address and the amount. Some wallets can read a QR code from a saved image, but copying is simpler and leaves less to go wrong.
- Paying from an exchange: look for a scan icon on the address field of the withdrawal screen. If there is none, copy and paste.
Whichever you use, the moment to check is after the details arrive in the wallet, not before.
The checks to make after every scan
Before you confirm, compare the send screen with the payment page, line by line:
- 1Address. Compare the first few characters, the last few, and a group from the middle. A scan avoids typing errors; this check catches the rest, such as a code that did not come from your payment page or an address that landed in the wrong field.
- 2Coin and network. Make sure the wallet is sending the same coin on the same network the page names, for example USDT on TRON (TRC-20), not USDT on Ethereum.
- 3Amount. If the scan filled in an amount, compare every digit, including the decimals. If it did not, type the exact amount from the payment page. A wallet that shows fewer decimal places on screen can hide a rounding difference, so open the full figure if your wallet allows it.
- 4Extra fields. If the payment page shows a memo, tag or comment, include it exactly. If it shows none, leave that field empty.
Network fees are paid by the sender on top of the amount. The fee your wallet shows is separate and should never be taken out of the payment amount.
When the scanner won't read the code
- Turn up the brightness of the screen showing the code and zoom the page so the code is larger.
- Hold the phone steady and straight on, with the code filling most of the scanner frame.
- Wipe the camera lens; a smudge is a frequent culprit.
- If it still fails, copy the address and amount instead. The details are identical.
One code, one payment
A payment QR code belongs to the payment request it was shown with. At HelloSIM, a payment request stays open for 1 hour. After that it expires, and a new one must be created at checkout, with the crypto amount calculated again from the euro price at that moment. A few habits follow from this:
- Do not screenshot a code to pay later, and never reuse a code or address from an earlier order.
- Scan only the code on the payment page you opened yourself from checkout. A QR code sent to you in a chat or an email, by anyone, is not your payment page.
- If the request expires before you send, start again from checkout instead of sending to the old one. If you had already sent when it expired, contact support at [email protected] or on WhatsApp with your order email, the coin, the network and the transaction hash (TXID).
Two different QR codes in one order
A HelloSIM order involves a second QR code, and it is easy to mix the two up. The payment code is for your crypto wallet. The eSIM code arrives after the payment is confirmed on the blockchain, which is usually quick on fast networks and takes longer when a network is busy. It comes by email and also appears in your account and the HelloSIM app.
The eSIM code is scanned by your phone's own settings, not by a wallet. On iPhone, go to Settings, then Mobile or Cellular, then Add eSIM. On Android, look under Settings, then Network & internet or Connections, then SIMs or SIM manager, then Add eSIM. Install it over Wi-Fi before the trip. Validity only starts when the eSIM first connects at your destination, so scanning it early does not cost you any days.
Get your Global eSIM in 30 seconds
Instant delivery, 4G/5G speeds, no roaming bills.